One of the real cool effects of a solar eclipse is when the partially blocked sun light shines through branches leaving this crescent light pattern. It’s the same concept as using a Pinhole Projector, except it’s an array. Very cool, indeed.

One of the real cool effects of a solar eclipse is when the partially blocked sun light shines through branches leaving this crescent light pattern. It’s the same concept as using a Pinhole Projector, except it’s an array. Very cool, indeed.
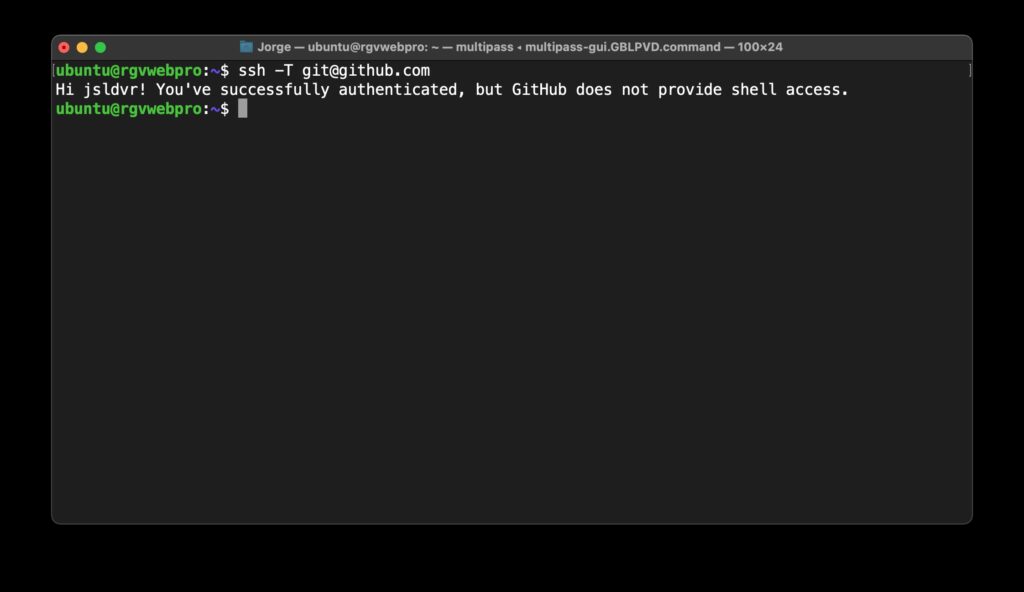
ubuntu@rgvwebpro:~$ git push
git@github.com: Permission denied (publickey).
fatal: Could not read from remote repository.

Please make sure you have the correct access rights
and the repository exists.
The error message you’re seeing is typically related to SSH key authentication issues when trying to communicate with a GitHub repository. The steps to resolve this error and prevent it from occurring in the future are as follows:
ls -al ~/.sshssh-keygen -t rsa -b 4096 -C "your_email@example.com"cat ~/.ssh/id_rsa.pub to display your public SSH key.eval "$(ssh-agent -s)".ssh-add ~/.ssh/id_rsassh -T git@github.comgit remote -vgit remote set-url origin git@github.com:username/repo.gitgit pushBy following these steps, you should be able to resolve the “Permission denied (publickey)” error when pushing to GitHub.

To list files and directories with detailed information using the ll command in the macOS terminal, you can create an alias for ls -als. Here’s how you can do it:
Open your terminal.
Run the following command to open your shell profile configuration file in a text editor. This file is usually .bashrc or .bash_profile.
nano ~/.bashrc
ll to execute ls -als.alias ll='ls -als'
Save and exit the text editor by pressing Ctrl + O to write the changes and then Enter, followed by Ctrl + X to exit.
Source your profile to apply the changes without having to restart the terminal.
source ~/.bashrc
Now you can use the ll command to list files and directories with detailed information, just like you would with ls -als. The alias will make your terminal experience more efficient and convenient.
Possible Issue: If the source has to be updated after each new terminal window.
Run echo $SHELL to check if bash or zsh.
If you’re using the zsh shell, the steps to create an alias for ll will be slightly different than for the bash shell. Here’s what you should do:
Open Configuration File: Open your zsh configuration file, which is usually ~/.zshrc, in a text editor. You can do this using the following command:
nano ~/.zshrc
Add Alias: Add the alias for ll by including the following line in your ~/.zshrc file:
alias ll='ls -als'
Save and Exit: Save the changes and exit the text editor (Nano) by pressing Ctrl + O to write changes, then Enter, and Ctrl + X to exit.
Apply Changes: To apply the changes to your current terminal session, run:
source ~/.zshrc
Now, whenever you open a new terminal session, the ll command should automatically be aliased to ls -als without needing to run source ~/.zshrc each time.
Title and body written by ChatGPT.

I have uninstalled saldivar.co‘s WordPress instance and have 301 redirected to jorge.saldivar.co‘s domain. At first, the purpose of the two sites was to separate concerns, web design business and personal use. However, that’s no longer necessary since I’ve been employed full-time.

With the “death of Twitter,” and social media in general, I’d like to take back my content. It’s just not currently easy to share content to my blog.


Well, this is interesting. Elon Musk updated his Twitter profile to include the domain x.com. Upon visiting the link, the site resolves to twitter.com. A quick whois check didn’t reveal much except that the domain was registered via GoDaddy and it’s not up for renewal until sometime in 2026.
Domain Name: x.com
Registry Domain ID: 1026563_DOMAIN_COM-VRSN
Registrar WHOIS Server: whois.godaddy.com
Registrar URL: https://www.godaddy.com
Updated Date: 2017-07-05T16:02:43Z
Creation Date: 1993-04-02T00:00:00Z
Registrar Registration Expiration Date: 2026-10-20T14:56:17Z
Registrar: GoDaddy.com, LLC


You must be logged in to post a comment.